Newsroom
How to install and maintain RUS26086
2026-09-02 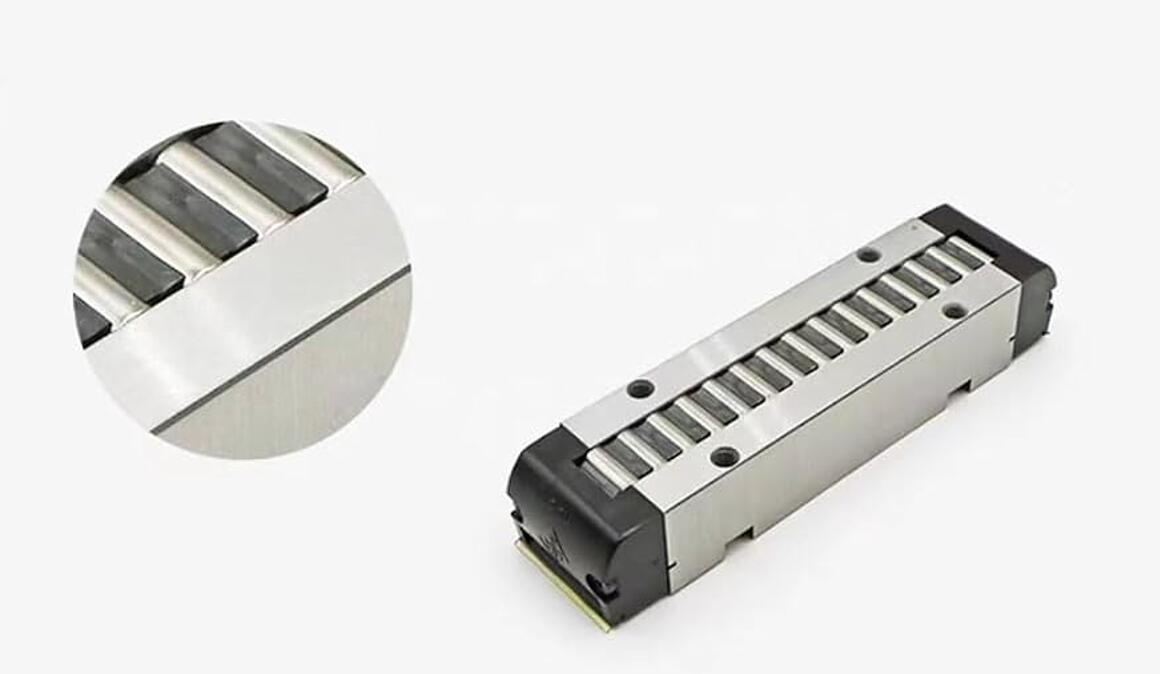 1. Installation
Pre‑installation preparation
- Clean mounting base and guide rail contact surfaces completely: remove chips, burrs, dust, residual oil. Mounting surface flatness must meet machine‑tool grade requirements.
- Do NOT remove the temporary holding mandrel before fitting onto rail. Never pull the carriage off the rail freely; rollers will fall out and damage the unitINA.
- Check hardware: use 12.9‑grade hex socket cap screws. Tightening torque for top M6 screws.
- Prepare torque wrench, dial indicator, suitable grease, external seals/scraper accessories (this model has no built‑in seals).
Mounting steps
- Slide RUS26086 carefully onto the matched guide rail; remove temporary mandrel only after fully engaged on rail.
- Position carriage against reference locating shoulder on the sliding table. Insert mounting screws, tighten hand‑tight first.
- Tighten screws in diagonal sequence, two‑stage tightening (50% → 100% rated torque 17 Nm for M6) to avoid tilting and preload distortion.
- For RUS26086‑KS version: adjust preload via the adjustment clip. Manually move carriage back‑and‑forth: smooth travel, no sticking, no excessive play, no heavy drag. Do not over‑preload (will cause overheating & rapid wear).
- Mount external scrapers / end seals for dusty, chip‑generating environments; ensure no contact friction between seal lips and rail surface.
- Mount grease nipple (M6 thread) on lubrication port.
- Manual full‑stroke test run: travel full length several times. Confirm silent, uniform movement, no jerking or abnormal noise.
Critical warnings
- Never hammer or strike the carriage directly; impact damages rollers and raceway precision.
- Multi‑carriage / multi‑rail system: control parallelism and flatness, avoid skew load.
- Vertical / overhead installation: fit anti‑drop safety structure to prevent carriage falling.
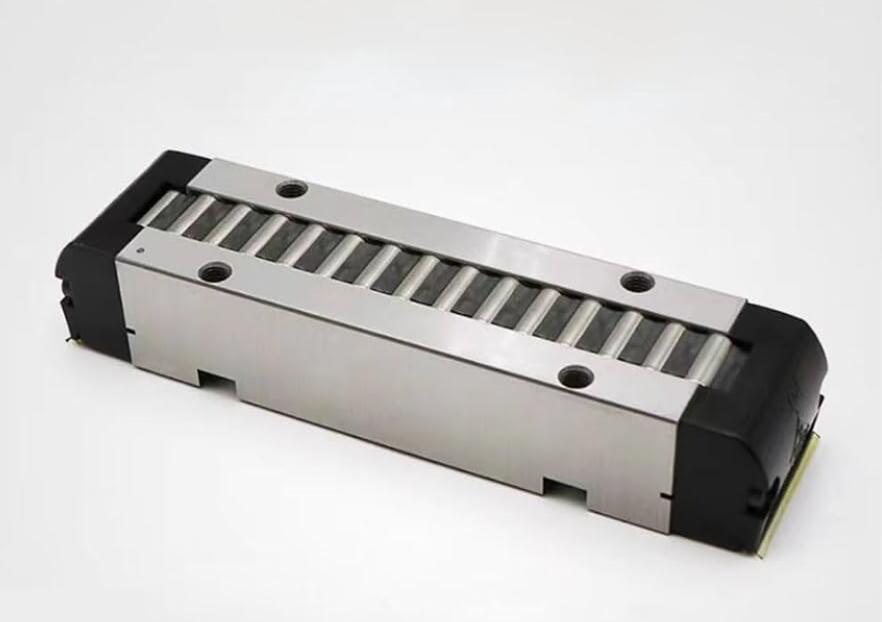
2. Lubrication
Initial filling: add lithium‑based EP grease before commissioning. Pump grease until fresh grease slightly oozes from side gaps.
Relubrication port: M6 thread on end face / side face.
3. Regular Maintenance
Routine inspection (daily / weekly)
- Check for abnormal noise, vibration, jerky movement. Stop machine immediately if anomalies occur.
- Check seal / scraper condition: clear chips and dirt from scraper.
- Check mounting screws for loosening; re‑check torque periodically.
- Observe temperature rise: excessive heating indicates over‑preload, poor lubrication or misalignment.
Periodic maintenance
- Relubricate following interval table; purge old contaminated grease.
- If heavily contaminated: disassemble external seals, clean rail surface, re‑grease, reassemble seals. Do not wash open carriage with solvent (rollers/cage may be damaged).
- Monitor positioning accuracy. Gradual accuracy drop indicates roller / raceway wear.
Failure hints
- Sticking / heavy drag: over‑preload, misalignment, dirt ingress.
- Rattling noise: lost preload, loose mounting, roller wear.
- High temperature: too much preload, insufficient lubrication.
4. Storage & Handling
Store horizontally in dry, clean place, anti‑rust protected. Do not take carriage off rail during storage.
Avoid shock, drop. Protect raceway surfaces from scratches.